Essential Smoking Tools for Smoking Foods: Master the Art of Flavor in 2025!

Did you know that smoking food can increase its shelf life by up to 400%? That’s right, folks! Not only does smoking add incredible flavor, but it’s also an age-old preservation technique. Whether you’re a backyard BBQ enthusiast or a professional pitmaster, having the right tools can make or break your smoking experience. In this article, we’ll dive into the essential smoking tools you need to create mouth-watering, perfectly smoked dishes that’ll have your friends and family begging for seconds. Let’s fire up those smokers and get started!
The Smoker: Your Flavor Factory
Let me tell you, when I first got into smoking meat, I was like a kid in a candy store. So many options, so much to learn! I remember standing in front of a wall of smokers at my local BBQ supply store, feeling completely overwhelmed. But over the years, I’ve learned a thing or two about these magical machines, and I’m excited to share that knowledge with you.
First up, let’s talk about the types of smokers. There are four main types you’ll come across: offset, vertical, electric, and pellet smokers. Each has its own quirks and charms, kinda like different breeds of dogs, ya know?
Offset smokers, also called horizontal smokers, are what you might picture when you think of a traditional BBQ setup. They’ve got a firebox on one side and a cooking chamber on the other. I cut my teeth on one of these bad boys, and let me tell you, it was a learning experience! They’re great for that authentic smoky flavor, but they can be a bit temperamental when it comes to temperature control.
Vertical smokers, on the other hand, are like the apartment dwellers of the smoking world. They’re more compact and great for smaller spaces. I’ve got a buddy who swears by his vertical smoker for his tiny balcony. These are usually easier to maintain a consistent temperature, which is a big plus for beginners.
Now, electric smokers are the “set it and forget it” option. They’re super convenient, especially if you’re not keen on babysitting your smoker all day. I’ll admit, I was a bit of a snob about electric smokers at first, but after using one at a family reunion (don’t judge, it was all they had!), I gotta say, they can produce some darn good BBQ.
Lastly, we’ve got pellet smokers. These are like the smart homes of the smoking world. They use wood pellets and have digital controls to maintain temperature. I splurged on one of these a couple years back, and it’s been a game-changer for my weeknight smoking sessions.
When it comes to choosing a smoker, there are a few factors you’ll want to consider. First off, think about how much space you have. No point in getting a massive offset smoker if you’re working with a tiny patio, right? Also, consider your experience level. If you’re just starting out, you might want something more user-friendly like an electric or pellet smoker.
Another big factor is how much time you’re willing to invest. Offset smokers require more attention, while electric and pellet smokers are more hands-off. And of course, don’t forget about your budget. Smokers can range from under $100 to well over $1000, so figure out what you’re comfortable spending.
Now, let’s talk about temperature control and smoke management. This is where the rubber meets the road in smoking, folks. You want to maintain a consistent temperature throughout the cooking process, which can be trickier than it sounds. I learned this the hard way when I ruined a whole brisket by letting my temperature fluctuate too much. Trust me, nothing’s sadder than tough, dry brisket.
For smoke management, you’re aiming for that thin, blue smoke. Thick, white smoke can make your food taste bitter. It took me a while to figure this out, but once I did, it was like unlocking a new level in a video game.
As for popular brands and models, there’s a lot to choose from. For beginners, I often recommend the Weber Smokey Mountain. It’s a vertical smoker that’s relatively easy to use and produces great results. If you’re looking for an electric option, the Masterbuilt Digital Electric Smoker is a solid choice. For pellet smokers, Traeger is a well-known brand, but I’ve also had good experiences with Camp Chef.
For those ready to dive into the deep end, the Yoder Smokers YS640s is a beast of a pellet smoker that’ll give you pro-level results. And if you’re all about that traditional offset smoker life, the Oklahoma Joe’s Highland Reverse Flow Smoker is a great mid-range option.
Remember, the best smoker is the one that fits your needs and lifestyle. Don’t get caught up in the hype of the latest and greatest if it doesn’t work for you. Trust me, I’ve been there, done that, and ended up with a fancy smoker gathering dust in my garage.
Fuel and Flavor: Wood and Charcoal Essentials
Alright, let’s dive into the heart of what makes smoked food so darn delicious: the fuel and flavor! This is where the magic happens, folks. It’s all about the wood and charcoal you use.
First up, let’s talk about wood. There are so many types of wood chips and chunks out there, each bringing its own unique flavor profile to the party. It’s like having a spice rack for your smoker! Some of my go-to woods are hickory, apple, and mesquite, but there’s a whole world of flavors to explore.
Hickory is like the old reliable of smoking woods. It’s got a strong, bacon-like flavor that pairs well with just about anything. I remember the first time I used hickory to smoke a pork shoulder – the smell was so good, my neighbors came over to see what I was cooking!
Apple wood is on the milder side, with a slight sweetness that’s perfect for poultry and pork. It’s my secret weapon for smoked turkey during the holidays. Trust me, once you’ve had apple-smoked turkey, you’ll never go back to plain old roasted.
Now, mesquite is the bold, brash cousin in the wood family. It’s got a strong, earthy flavor that can easily overpower more delicate meats if you’re not careful. I learned this the hard way when I used too much mesquite on some chicken and ended up with what tasted like smoked leather. But used sparingly, it’s fantastic for beef.
Other popular woods include cherry (great for a mild, sweet flavor), pecan (nutty and rich), and oak (strong but not overpowering). Don’t be afraid to mix and match woods to create your own signature flavor!
When it comes to charcoal, you’ve got two main options: lump charcoal and briquettes. This is like the great debate of the BBQ world, and let me tell you, folks get pretty passionate about their preference!
Lump charcoal is made from pure wood that’s been burned down in the absence of oxygen. It burns hotter and cleaner than briquettes, and it doesn’t have any additives. The downside? It burns faster and can be a bit more unpredictable. I tend to use lump charcoal when I’m doing high-heat grilling or when I want a really clean smoke flavor.
Briquettes, on the other hand, are made from wood byproducts and usually contain some additives to help them burn consistently. They’re more uniform in shape, which makes them easier to stack and control. They also burn longer than lump charcoal, which is great for those long smoking sessions. I use briquettes when I’m doing a long smoke and need that steady, consistent heat.
Now, here’s something super important: always, ALWAYS use high-quality, food-grade wood for smoking. This isn’t the place to cut corners, folks. Using random wood from your backyard or treated lumber is a big no-no. That stuff can contain chemicals and resins that’ll make your food taste awful at best, and could be dangerous at worst.
I made this mistake early on in my smoking journey. I had some old wood planks lying around and thought, “Hey, wood is wood, right?” Wrong. So wrong. The resulting brisket tasted like it had been marinated in paint thinner. Lesson learned!
When it comes to storing your smoking woods, keep them in a cool, dry place. Moisture is the enemy here – it can lead to mold and affect the flavor of your wood. I keep mine in airtight containers in my garage. And if you’re using wood chips, soak them in water for about 30 minutes before use. This’ll help them smolder and produce smoke rather than just burning up quickly.
For wood chunks, I like to add them to the coals dry. They’ll smoke for longer this way. And here’s a pro tip: if you’re using a charcoal smoker, try the minion method. This involves arranging your unlit coals in a ring and placing lit coals in the center. As the fire spreads, it creates a slow, steady burn that’s perfect for long smoking sessions.
Remember, the wood and charcoal you use are like the spices in your cooking. They can make or break your BBQ. Don’t be afraid to experiment, but also don’t go overboard. Sometimes, less is more when it comes to smoke flavor. Happy smoking, folks!
Precision Tools: Thermometers and Accessories
Alright, let’s talk about the unsung heroes of smoking: thermometers and accessories. These might not be as glamorous as your smoker or as exciting as choosing your wood flavors, but trust me, they’re absolutely crucial to your smoking success.
First up, let’s chat about thermometers. If there’s one thing I’ve learned in my years of smoking, it’s that temperature is king. You can have the fanciest smoker and the best quality meat, but if your temperature is off, you’re in for a world of disappointment.
I learned this lesson the hard way when I first started out. I relied on the built-in thermometer on my smoker, thinking it was good enough. Boy, was I wrong! I ended up with a brisket that was overcooked on the outside and raw in the middle. It was a BBQ disaster that still haunts me to this day.
So, what kinds of thermometers should you be looking at? There are three main types: instant-read, probe, and wireless options.
Instant-read thermometers are your quick and dirty temperature checkers. You stick ’em in, get a reading in seconds, and you’re done. They’re great for spot-checking temperatures or for things like steaks where you’re not smoking for a long time. I always keep one of these in my pocket when I’m grilling or smoking.
Probe thermometers are the workhorses of the smoking world. These bad boys have a probe that stays in your meat throughout the entire cook, giving you a constant read on the internal temperature. Most of them have a long, heat-resistant cable that connects to a display unit outside the smoker. I use these for pretty much every long smoke I do.
Now, wireless thermometers? These are the fancy pants of the thermometer world. They work like probe thermometers, but instead of a cable, they transmit the temperature data wirelessly to your phone or a separate device. I splurged on one of these a couple years ago, and let me tell you, it’s been a game-changer. Being able to monitor my smoker temp and meat temp from the comfort of my couch? That’s living the dream, folks!
But thermometers aren’t the only accessories you’ll need. Let’s talk about some other essentials that’ll make your smoking life a whole lot easier.
Drip pans are a must-have in my book. They catch all the juices and fat that drip off your meat, keeping your smoker clean and preventing flare-ups. Plus, you can use those drippings to make some killer gravy or au jus. Nothing goes to waste in my smoker!
Water pans are another key accessory, especially for longer smokes. They help regulate the temperature in your smoker and add moisture to the cooking environment, which can help prevent your meat from drying out. I learned about the importance of water pans after a particularly dry pulled pork incident. Never again!
Smoke boxes are great if you’re using a gas grill or want to add some extra smoke flavor to your electric smoker. You fill these little metal boxes with wood chips, and they smolder away, adding that delicious smoky flavor to your food. I use these a lot when I’m grilling and want just a touch of smoke flavor.
Now, let’s talk about cleaning and maintenance tools. I know, I know, cleaning isn’t the most exciting part of smoking, but it’s necessary if you want your smoker to last and perform well.
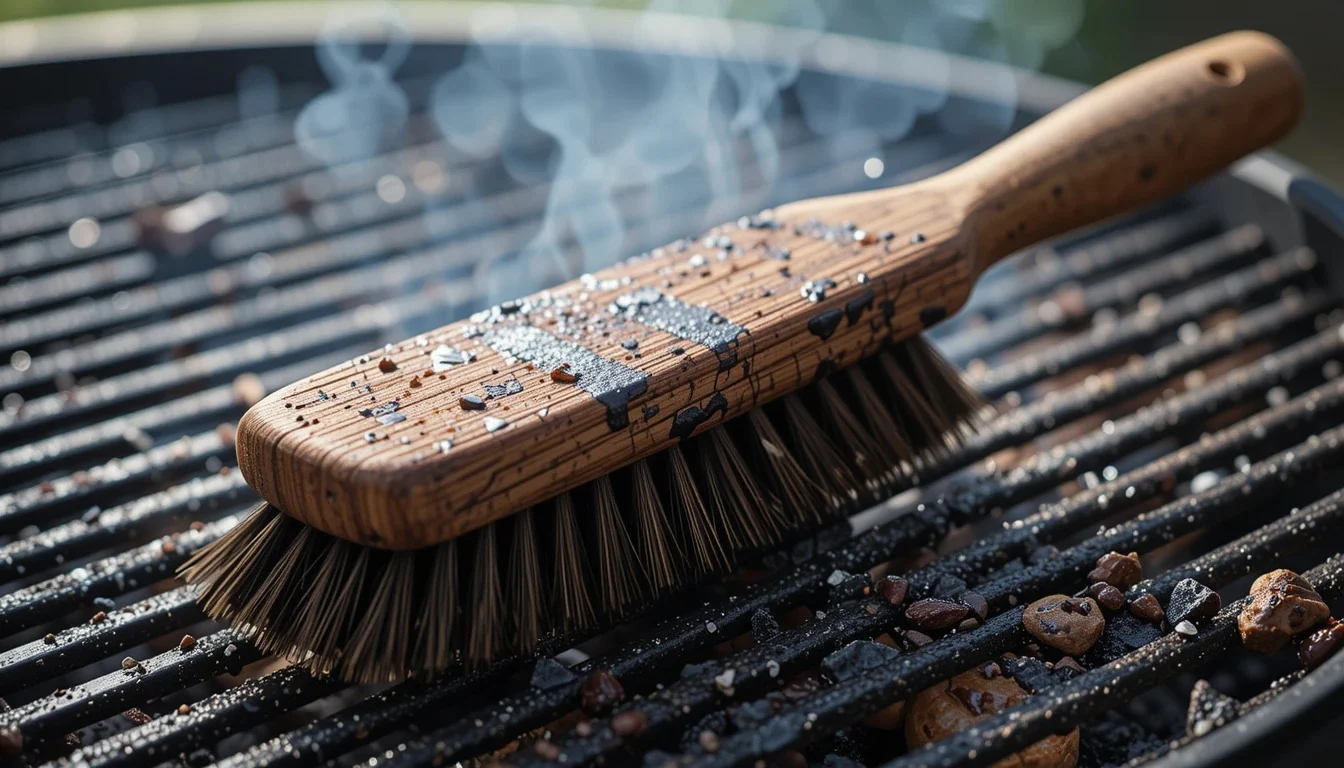
A good grill brush is essential for scraping down your grates after each use. I prefer the ones with brass bristles – they’re tough enough to get the job done but won’t scratch up your grates like steel bristles can.
For deeper cleans, I swear by a putty knife and some elbow grease. It’s great for scraping off built-up gunk inside your smoker. And don’t forget about a ash shovel if you’re using a charcoal smoker. Trust me, trying to clean out ash without the proper tool is a messy nightmare.
I also keep a spray bottle filled with a mixture of water and apple cider vinegar handy. It’s great for spritzing your meat during long smokes to keep it moist, and it can also help with cleaning.
Lastly, invest in some heavy-duty aluminum foil and disposable aluminum pans. These are lifesavers for easy cleanup. I line the bottom of my smoker with foil before each cook, and it makes cleanup a breeze.
Remember, smoking is as much about the process as it is about the end result. Having the right tools and accessories can make that process a whole lot more enjoyable. So don’t skimp on the essentials – your taste buds (and your sanity) will thank you!
Conclusion
Armed with these essential smoking tools, you’re now ready to embark on your smoking journey! Remember, practice makes perfect, and each smoking session is an opportunity to refine your craft. Don’t be afraid to experiment with different wood combinations and techniques to find your signature flavor. Whether you’re smoking a rack of ribs, a whole turkey, or even some cheese, the right tools will help you achieve smoky perfection every time. So fire up that smoker, grab your thermometer, and let the mouthwatering aromas fill your backyard. Happy smoking, everyone!
FAQ
- What’s the most important tool for smoking foods?
A good-quality smoker is the foundation, but an accurate thermometer is equally crucial for consistent results. - Can I use any wood for smoking?
No, stick to food-grade hardwoods like hickory, apple, or mesquite. Avoid softwoods or treated lumber. - Do I need a special smoker, or can I use my grill?
While dedicated smokers are ideal, you can use a regular grill with some modifications for indirect heat and smoke generation. - How often should I clean my smoker?
Clean your smoker after every 3-4 uses to prevent buildup and ensure optimal performance. - What’s the difference between cold smoking and hot smoking?
Cold smoking (below 80°F) is for flavoring, while hot smoking (165°F-185°F) both flavors and cooks the food.